前言

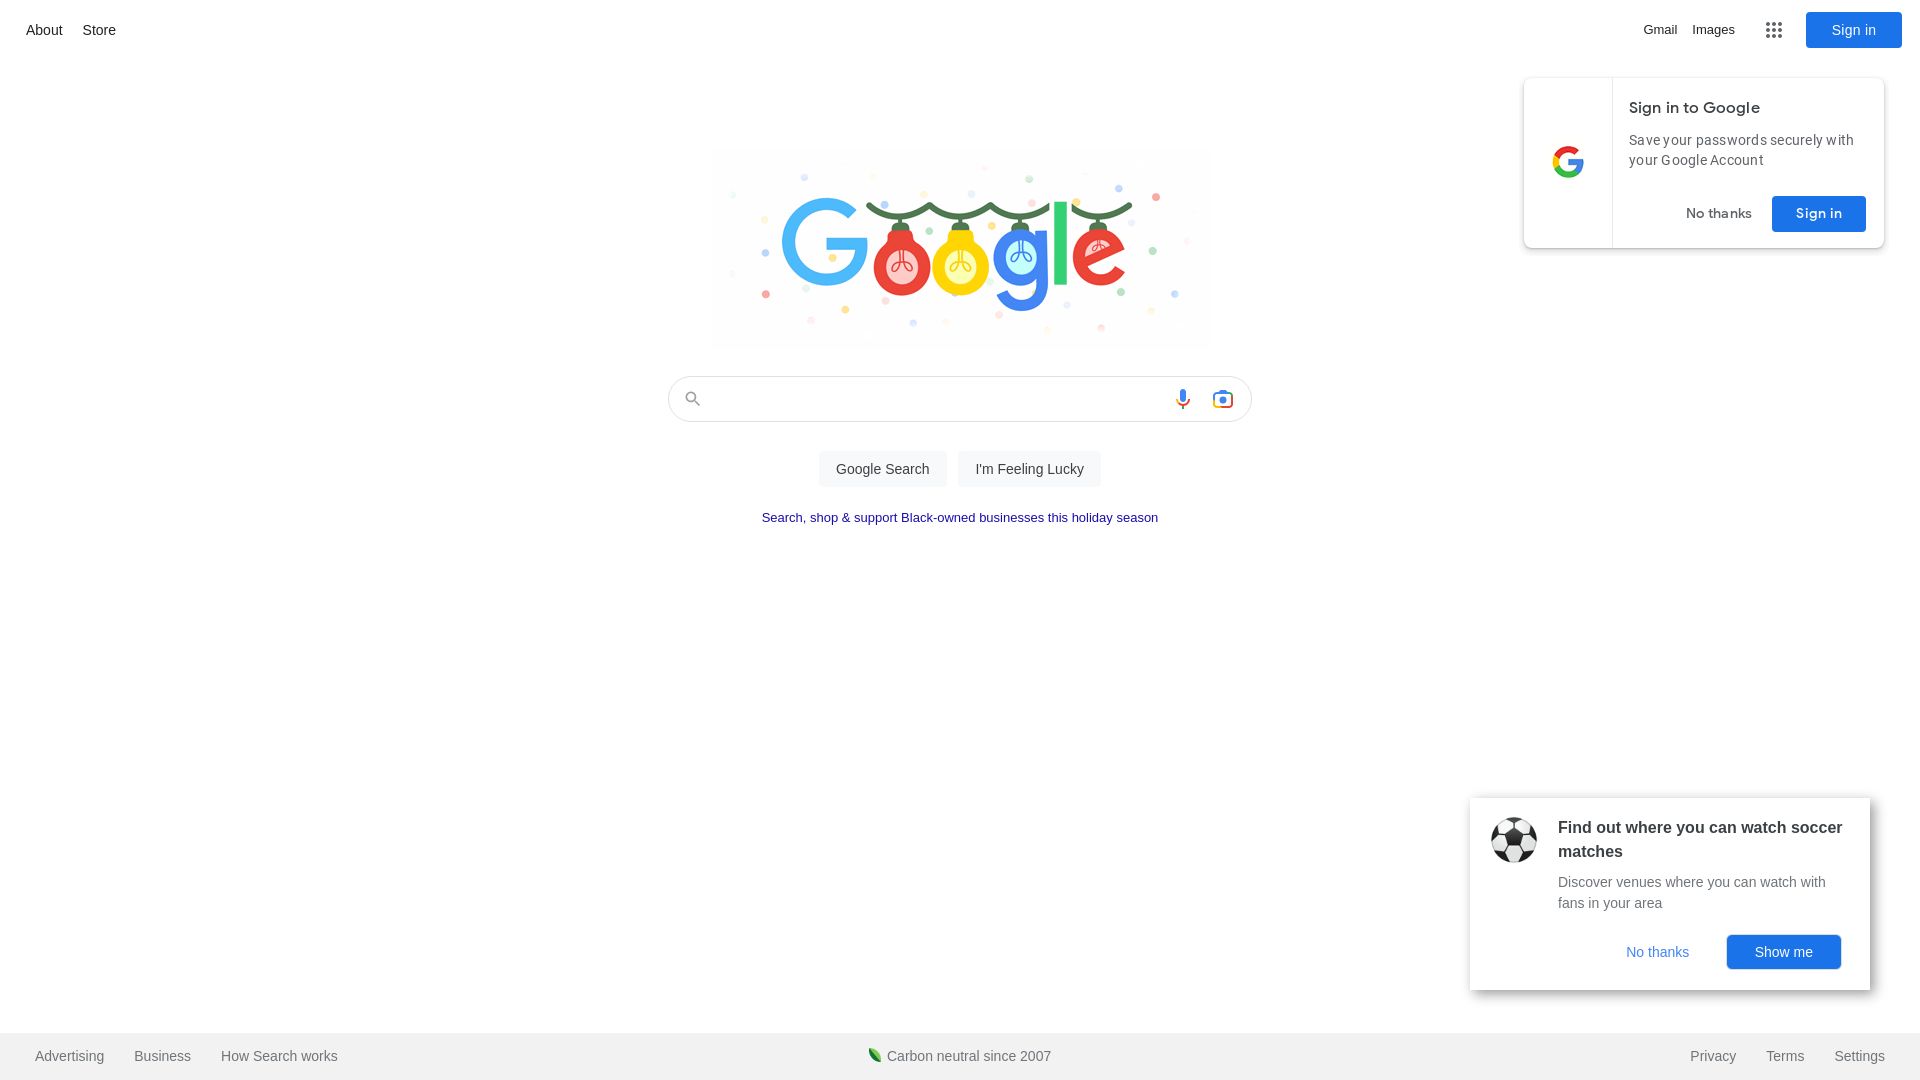
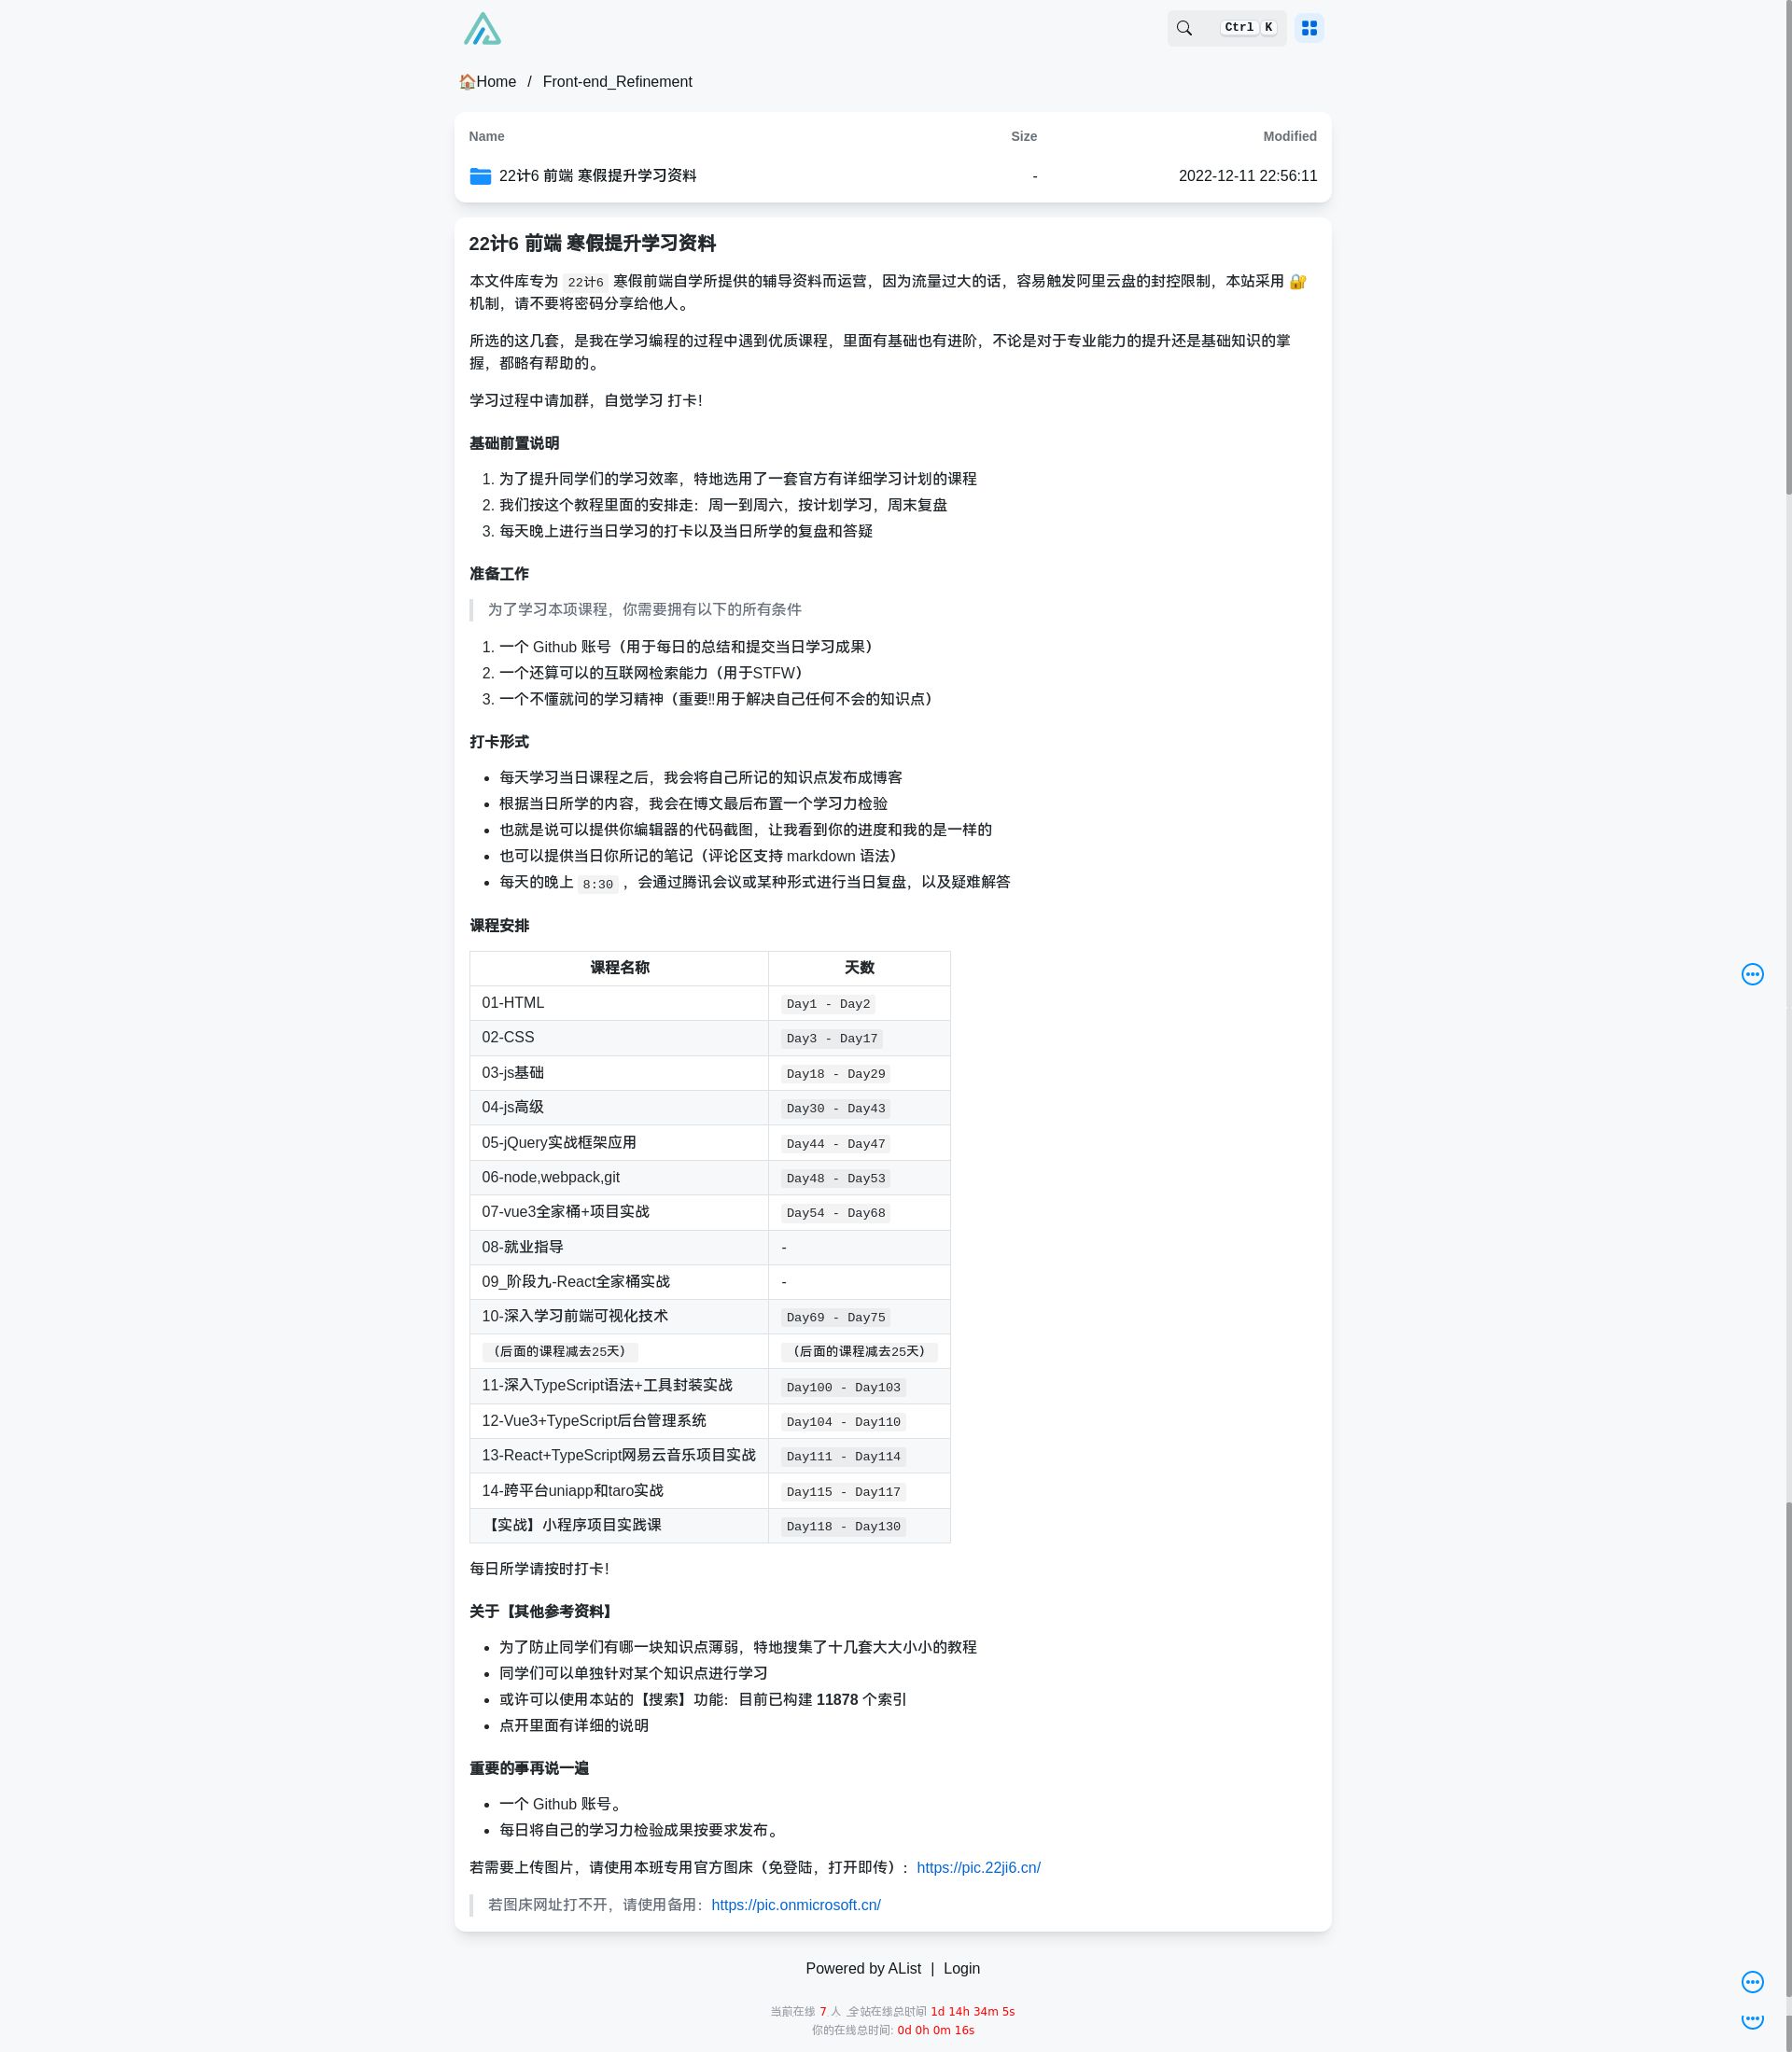
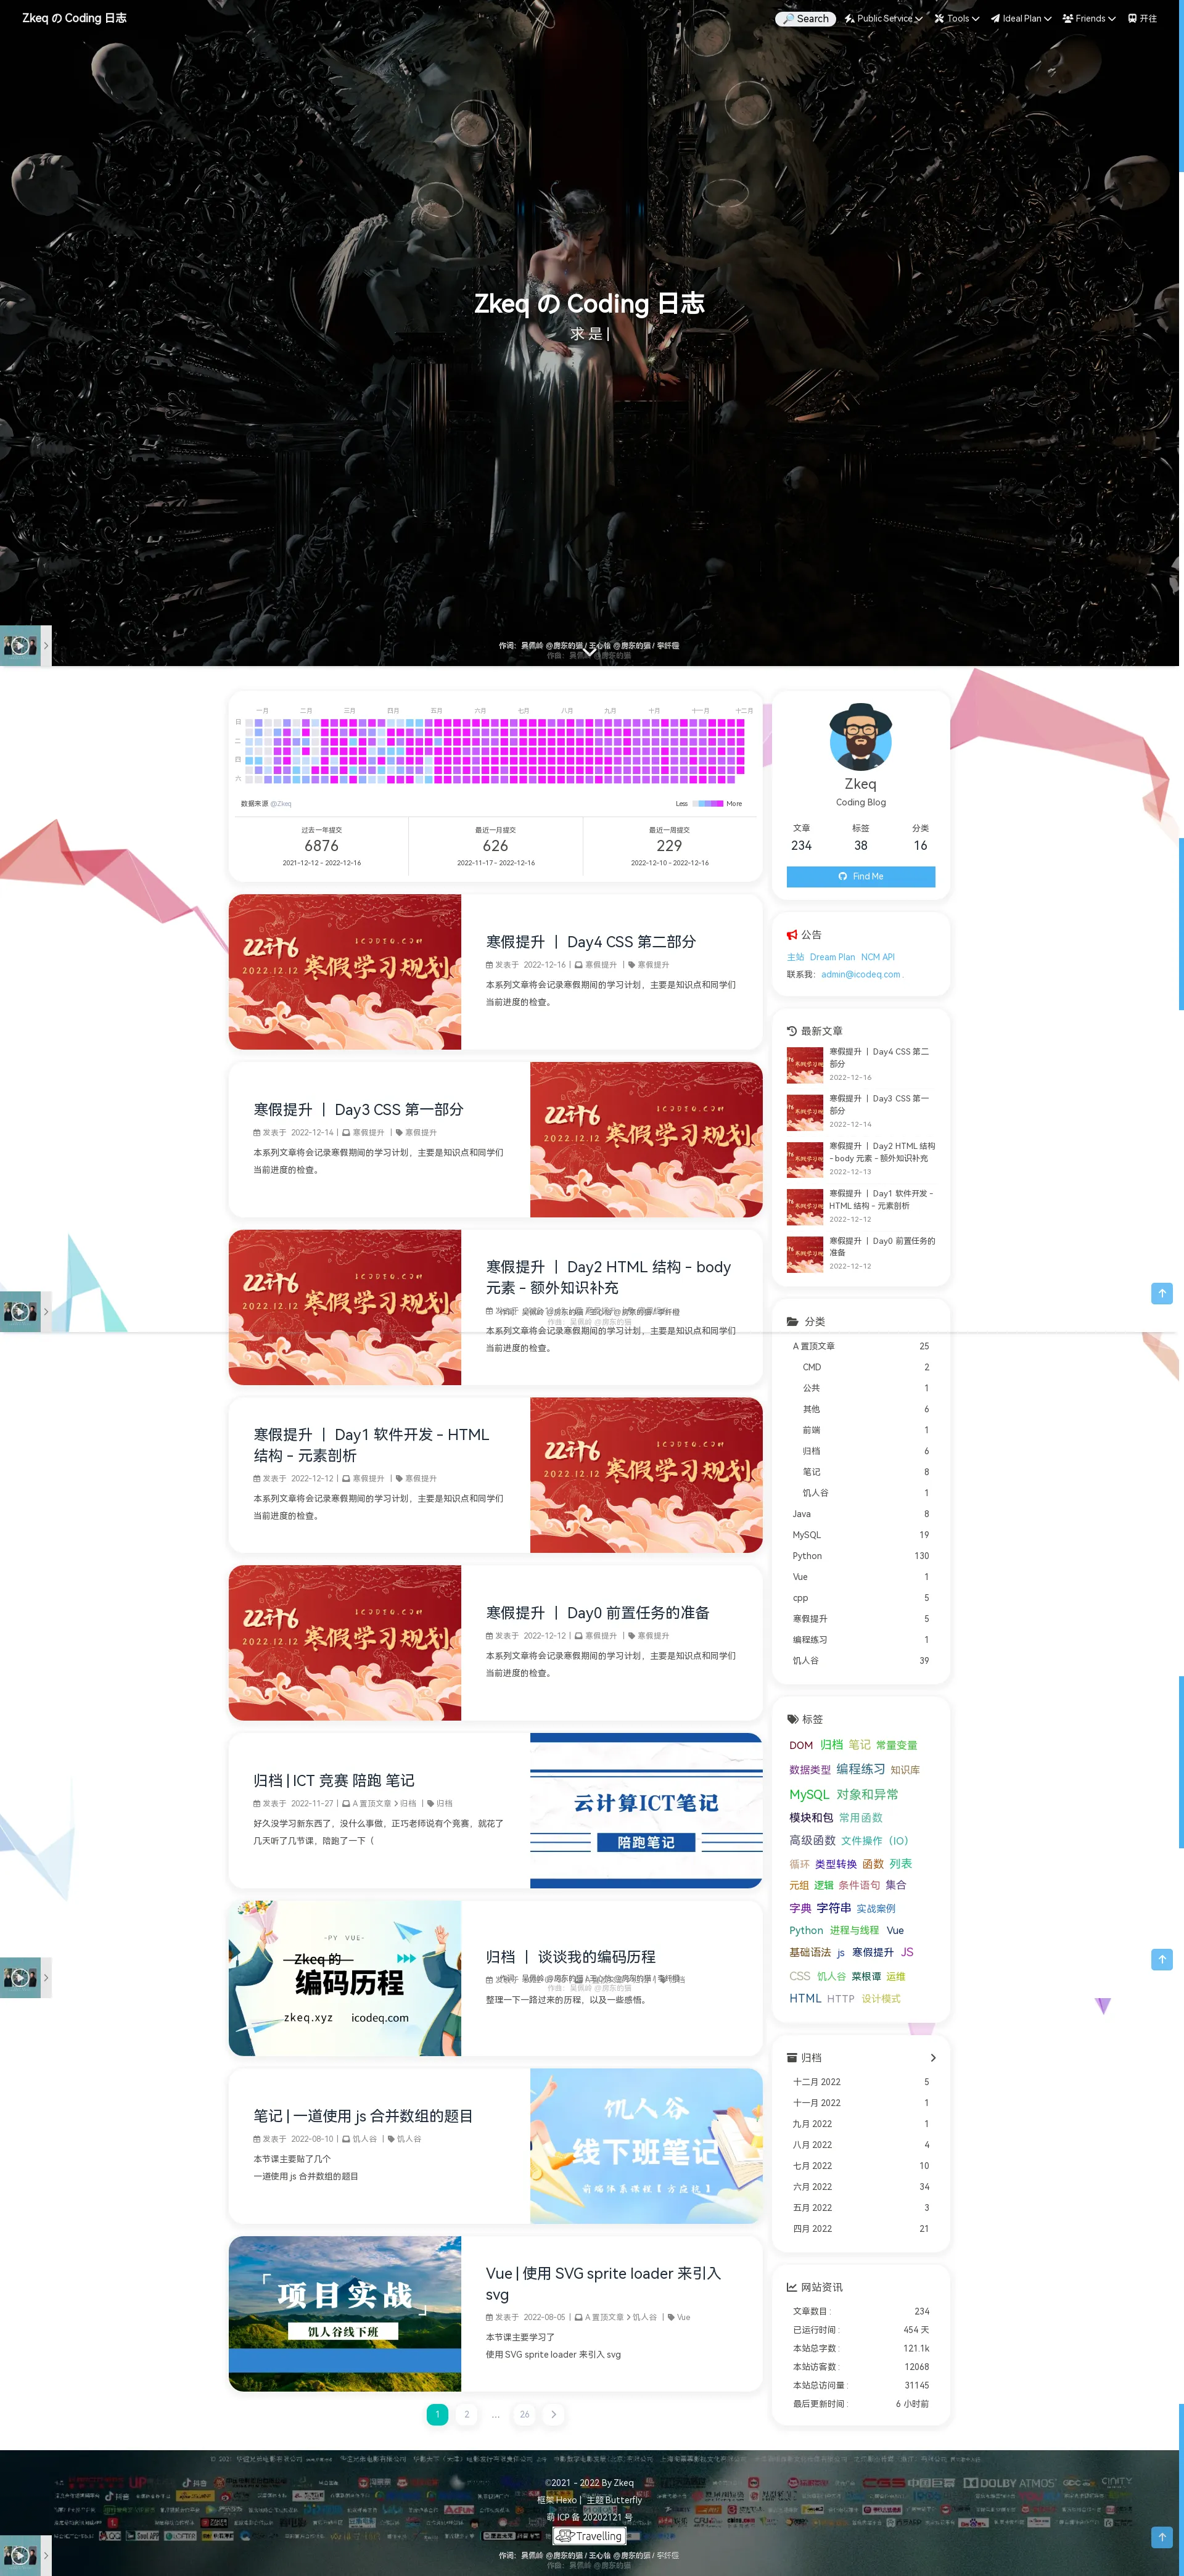
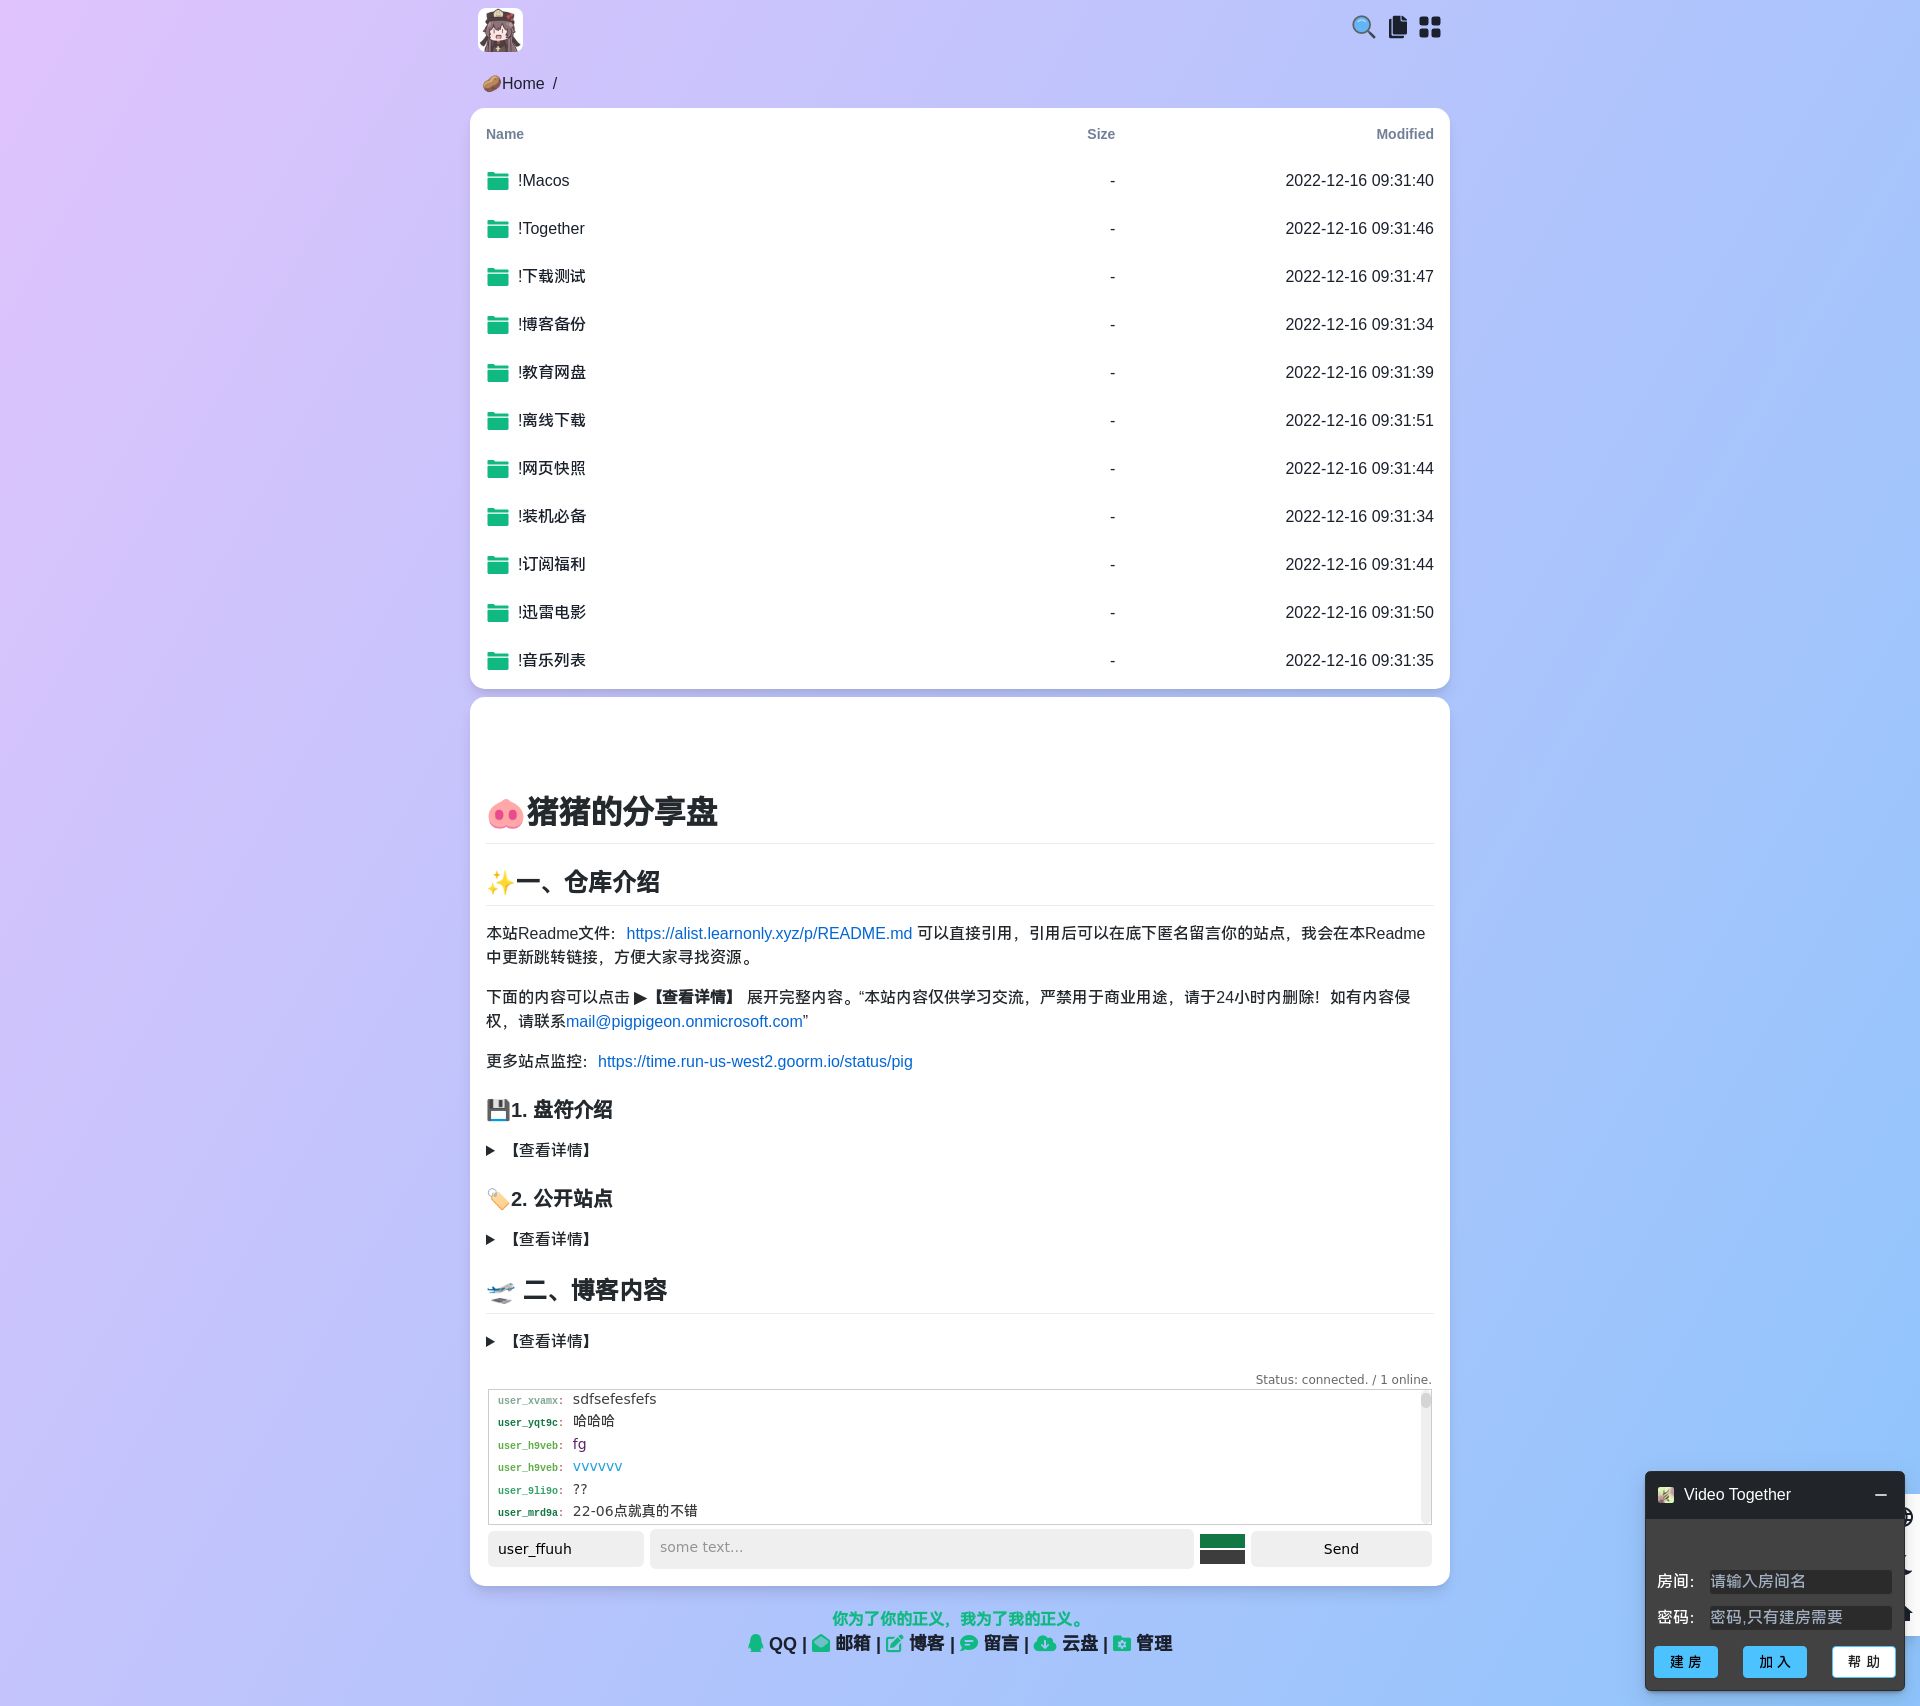
因为某些特殊的需求,我想看到某个网站在过去的某天是什么样子的,尝试过在 互联网档案馆(archive.org) 上搜索,但是找到的内容只是 HTML 代码,因为是前后端分离的网站,其请求的接口数据并没有被保存下来,所以很遗憾,丢失了数据,只能从头来运行,这时我想起半年前写过一个 Python 截图小工具,因为那时候是随手写的,主要是给朋友用的,所以只算是个半成品,拿过来用发现并不能获取全尺寸屏幕截图,不大好用,所以趁着这次机会将这个工具完善了一下,调了一整天参数,可以说是在中文互联网社区来说算是比较好用的了。

对于这个项目我有如下创新点:

  1. 采用 4 种截图模式可进行 全尺寸截图 方式选择,有滚动截图,有拉高屏幕截图
  2. 滚动截图时采用精准像素无缝拼接,并且在尾页做了特殊处理,不会出现多处来一块的情况
  3. 支持自动等待页面加载完成和强制截图延时,可以自行设置相关参数保证截图的完整性
  4. 项目采用 Github Actions 驱动,一看仓库就知道可以跑,可以放心粘贴代码
  5. 同时采用 Actions 方便部署,Fork 改密钥 即可运行
  6. 本项目爬取完数据之后会放回原分支,并且支持单个域名的详细保留截图日期
  7. 支持定时,全自动触发

仓库地址:https://github.com/zkeq/Python-WebSite-Screenshot

补充:写完此文后我发现一个使用 ts + puppeteer 编写的截图仓库,并且可运行于 vercel 推荐一波:

https://github.com/Lete114/WebStack-Screenshot

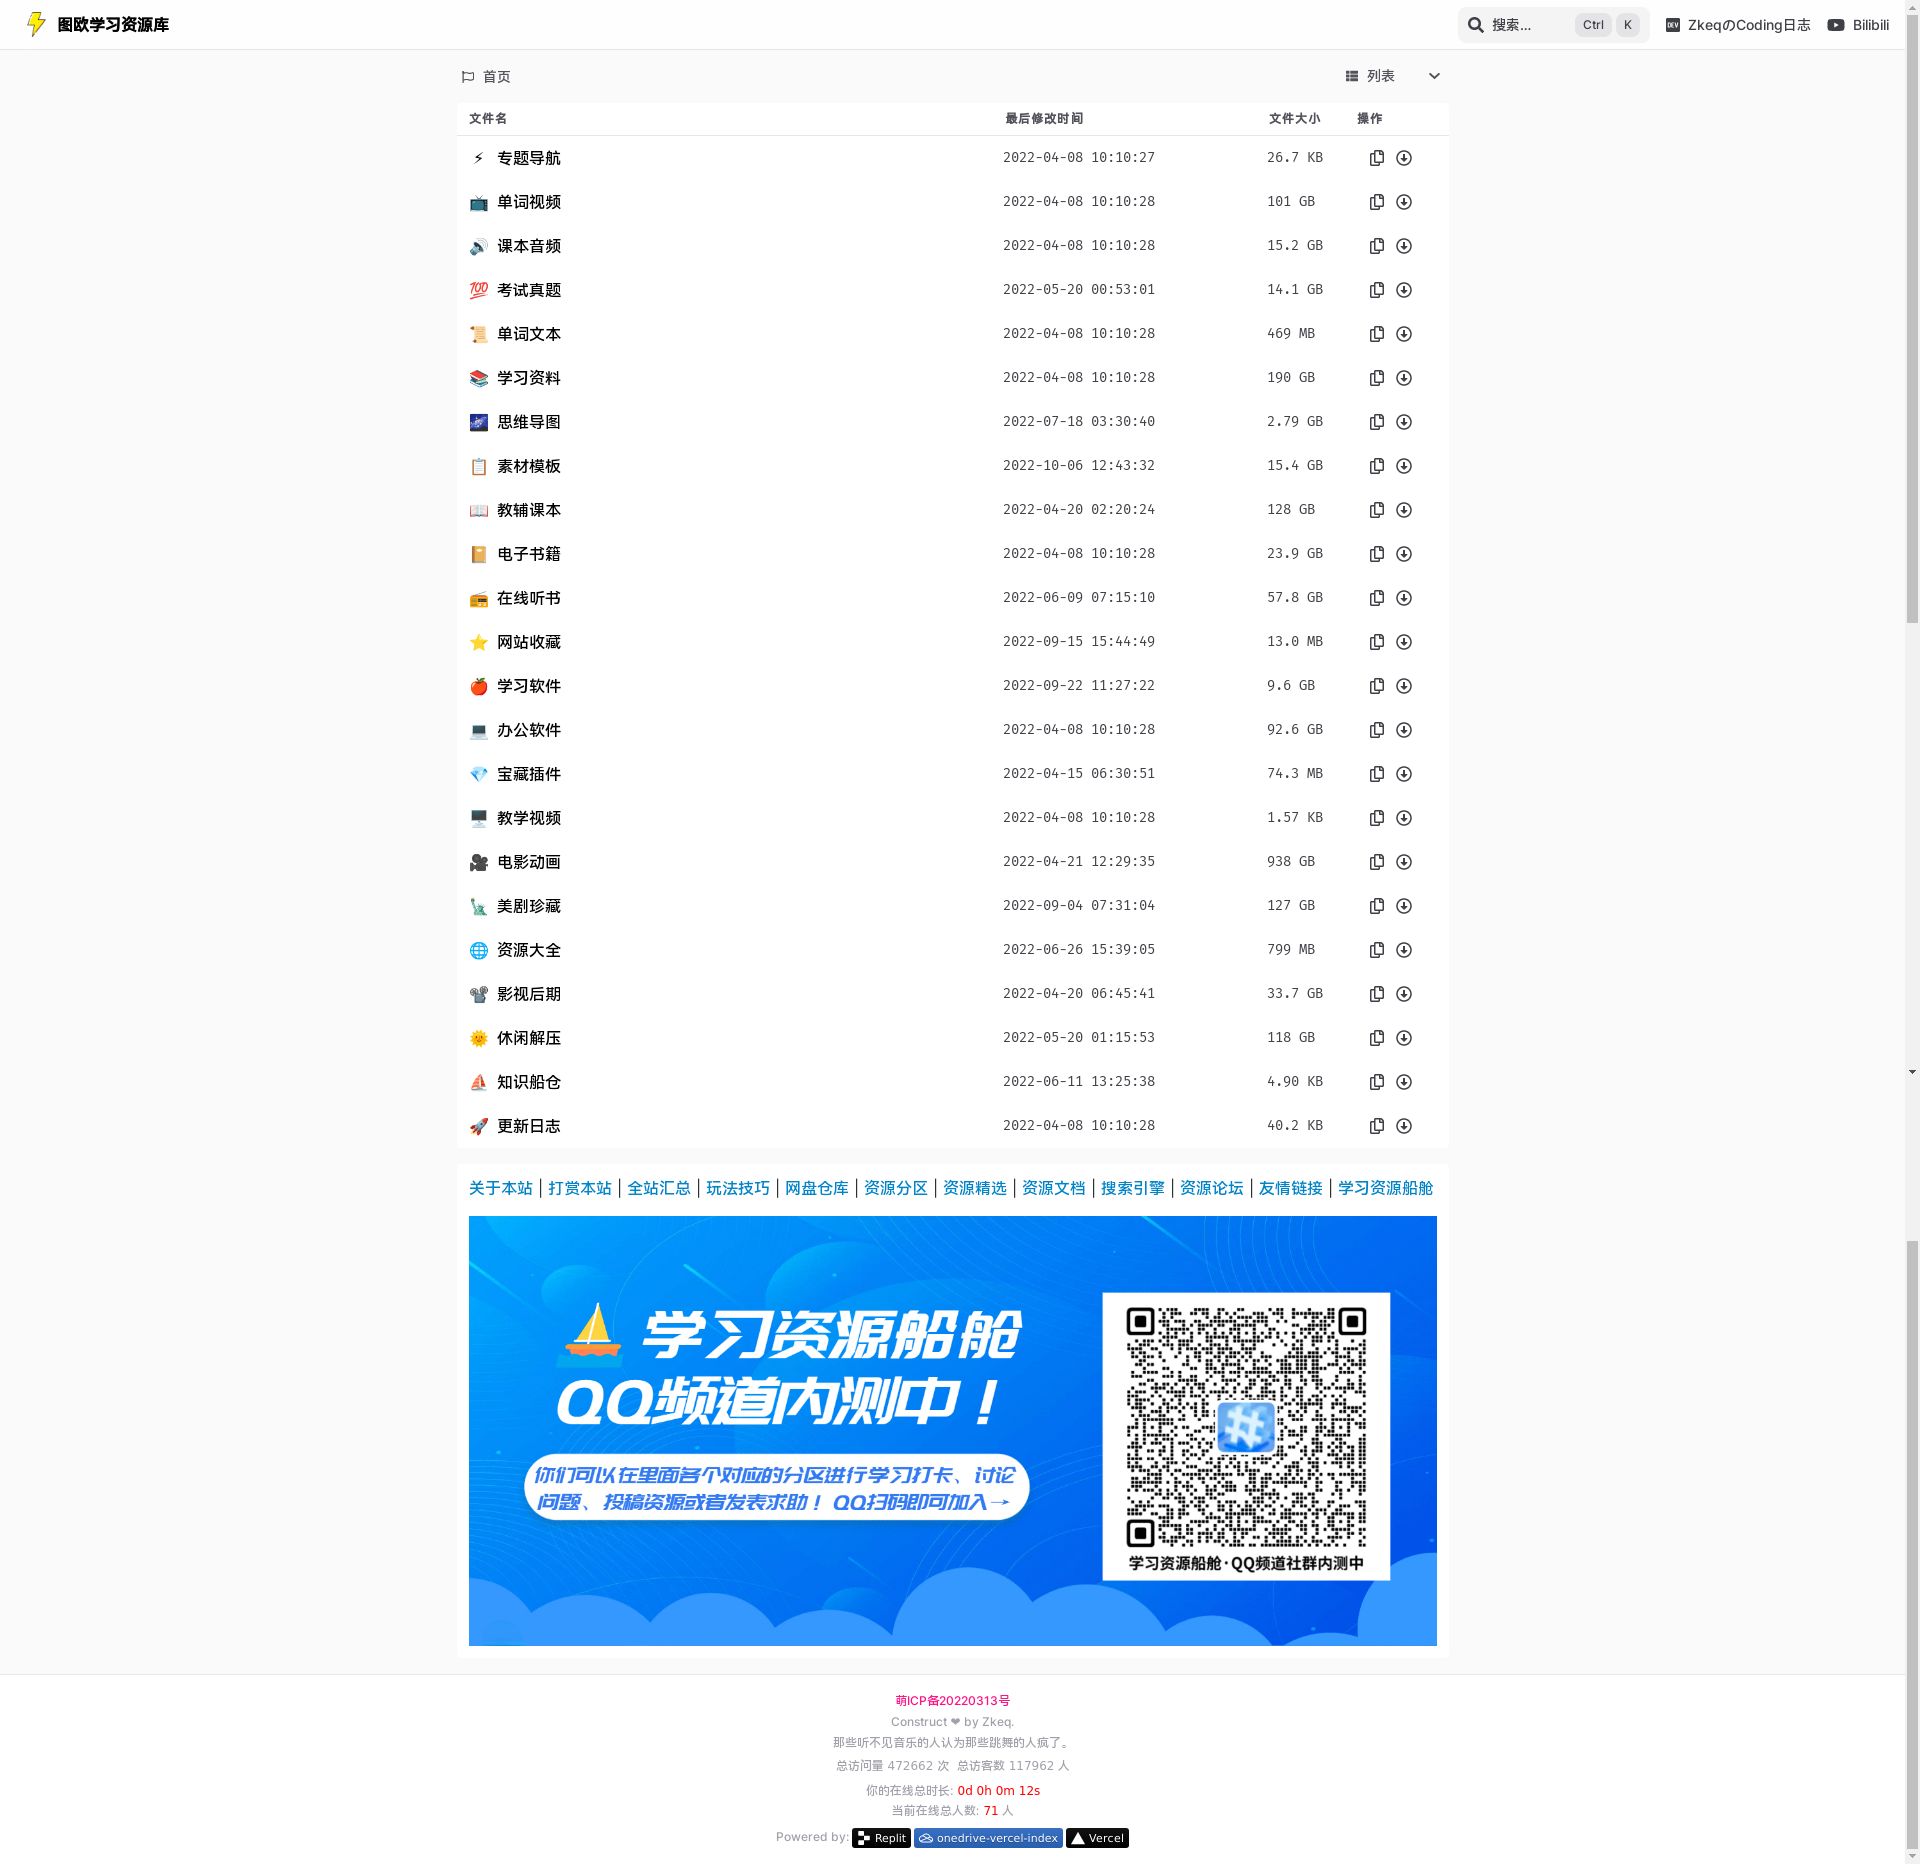
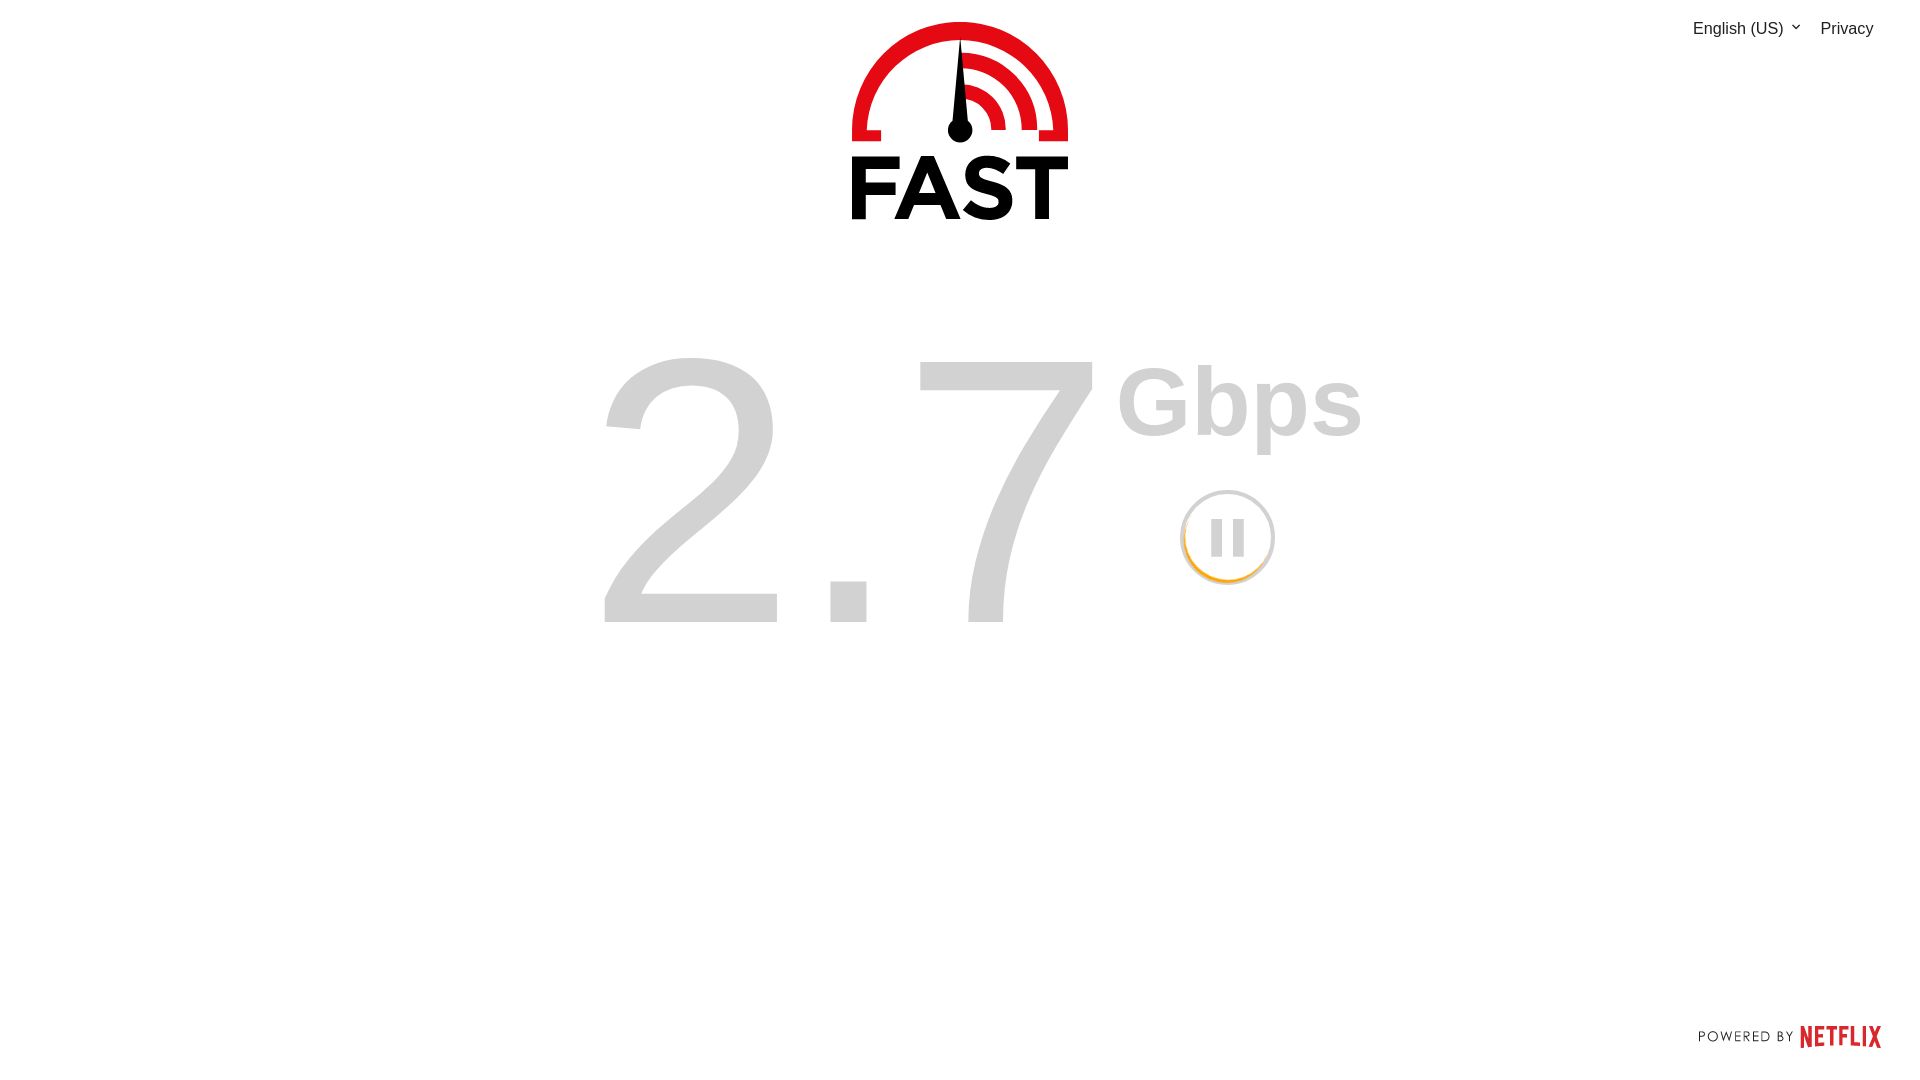
无图无真相

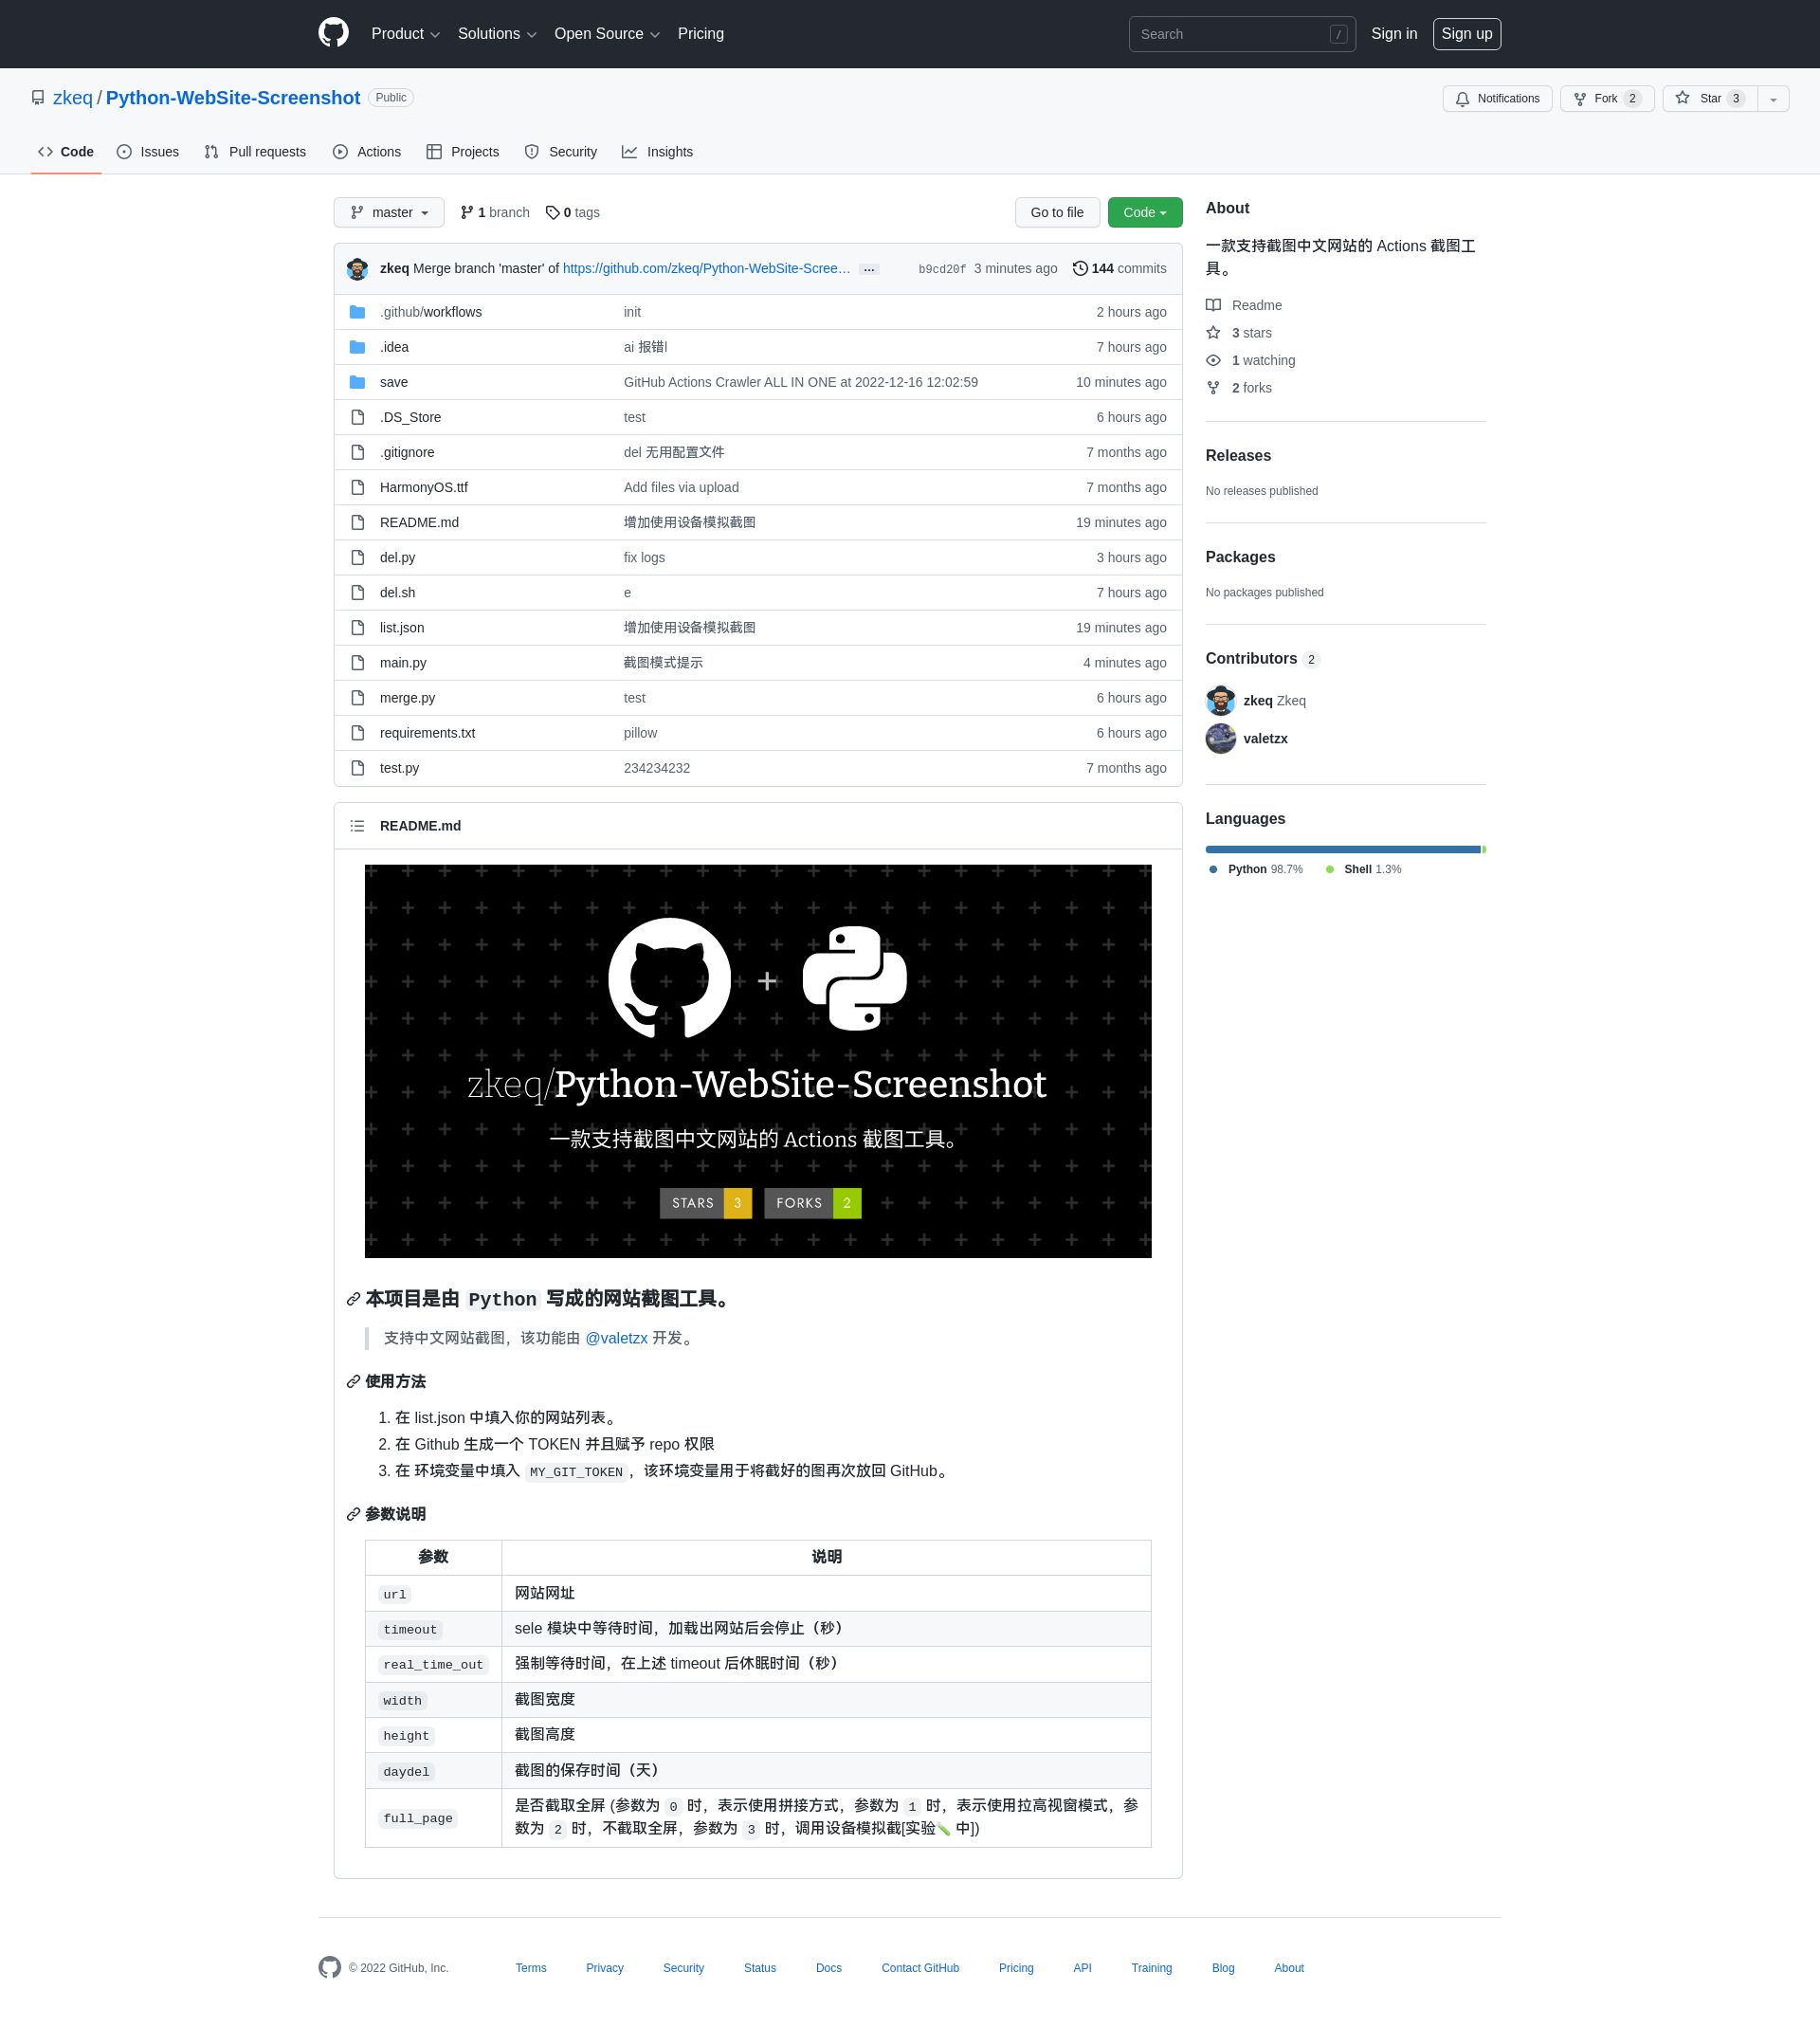
项目README

Python-WebSite-Screenshot

本项目是由 Python 写成的网站截图工具。

支持中文网站截图,该功能由 @valetzx 开发。

使用方法

  1. 在 list.json 中填入你的网站列表。
  2. 在 Github 生成一个 TOKEN 并且赋予 repo 权限
  3. 在 环境变量中填入 MY_GIT_TOKEN,该环境变量用于将截好的图再次放回 GitHub。

参数说明

参数 说明
url 网站网址
timeout sele 模块中等待时间,加载出网站后会停止(秒)
real_time_out 强制等待时间,在上述 timeout 后休眠时间(秒)
width 截图宽度
height 截图高度
daydel 截图的保存时间(天)
full_page 是否截取全屏 (参数为 0 时,表示使用拼接方式,参数为 1 时,表示使用拉高视窗模式,参数为 2 时,不截取全屏,参数为 3 时,调用设备模拟截[实验🧪 中])

思路

  • 这个项目我首先写的只是打开浏览器,然后截图
1
2
3
4
5
6
7
8
9
10
11
12
13
14
15
16
17
18
19
20
21
22
23
def get_screenshot(url, width, height, timeout, real_time_out):
print("正在初始化浏览器")
chrome_options = webdriver.ChromeOptions()
chrome_options.add_argument('lang=zh_CN.UTF-8')
chrome_options.add_argument('--headless')
chrome_options.add_argument('--no-sandbox')
chrome_options.add_argument('--disable-gpu')
chrome_options.add_argument('--disable-dev-shm-usage')
chromedriver = "/usr/bin/chromedriver"
os.environ["webdriver.chrome.driver"] = chromedriver
driver = webdriver.Chrome(options=chrome_options, executable_path=chromedriver)
print("正在尝试初始化窗口大小:", url)
driver.set_window_size(width, height)
print("正在获取网页")
driver.get(url)
print("正在等待网页加载完成")
driver.implicitly_wait(timeout)
time.sleep(real_time_out)
print("获取网页成功,正在截图")
pic_file = driver.get_screenshot_as_png()
print("截图成功")
driver.quit()
return pic_file
  • 这里要感谢 @valetzx 他为本项目增加了中文语言支持功能。
1
2
3
4
5
6
7
8
9
10
11
12
13
14
      - name: Install Chinese Support
run: |
git pull
sudo apt-get install language-pack-zh-han*
sudo apt-get install ttf-mscorefonts-installer
sudo apt-get install fontconfig
LANG="zh_CN.UTF-8"
cp HarmonyOS.ttf /usr/share/fonts/
sudo chmod 644 /usr/share/fonts/HarmonyOS.ttf
sudo mkfontscale
sudo mkfontdir
sudo fc-cache -fv

python add: chrome_options.add_argument('lang=zh_CN.UTF-8')
  • 就这样,基本的截图功能算是实现了,也就是进入到今天的正题,如何进行长截图呢?

经过查阅资料,发现 selenium3 以及后续版本已将此功能删去

于是我想到了最容易想到的方法:截图多张,然后拼接

1
2
3
4
5
6
7
8
9
10
11
12
13
# 截取代码
while next_scrolled_height < total_height:
driver.execute_script(f"window.scrollTo(0, {next_scrolled_height});")
next_scrolled_height += height
if total_height - scrolled_height < height:
next_scrolled_height = total_height
print("正在截图:", scrolled_height, next_scrolled_height)
time.sleep(2)
pic_file = os.path.join(host_dir, now_time + "|" + str(scrolled_height) + "_"+ str(next_scrolled_height) + ".png")
scrolled_height += height
image_path_list.append(pic_file)
driver.save_screenshot(pic_file)
page += 1
1
2
3
4
5
6
7
8
9
10
11
12
13
14
15
16
17
18
19
20
21
22
23
# 拼接代码

# # 保存图片
# new_img.save("new_image.jpg")
_temp = []
for i in image_path_list:
_temp.append(Image.open(i))
# 裁剪图片
for i in range(len(_temp)):
if i == range(len(_temp))[-1]:
_temp[i] = _temp[i].crop((0, height - (int(image_path_list[-1].split("|")[-1].split(".")[0].split("_")[-1]) - int(image_path_list[-1].split("|")[-1].split(".")[0].split("_")[0])), _temp[i].width, height ))
else:
_temp[i] = _temp[i].crop((0, 0, _temp[i].width, height))
# 创建新图像
new_img = Image.new("RGB", (_temp[0].width, total_height))
# 粘贴图片
for i in range(len(_temp)):
new_img.paste(_temp[i], (0, i*height))

# 保存图片
new_img.save(os.path.join(host_dir, now_time + ".png"))
print("截图成功")
driver.quit()

好像写法不大优雅,但是可以无缝拼接…

笔者在撰写此文时,搜到了似乎更为优雅的代码,可以看看这个:

上面的代码调参数调了好长时间,大半天的时间过去了,但是我写完之后突然想到:既然我已经有代码获取到页面的整体高度,那么我直接让浏览器的高度等于找个高度,不就没有滚动条了么,而且也不用拼接了

于是就发现只要改动两行 就可以实现…

1
2
3
driver.set_window_size(width, total_height)
# 滚动到底部
driver.execute_script(f"window.scrollTo(0, {total_height});")

离谱,似乎前面的工作白做了?那么多白写了?

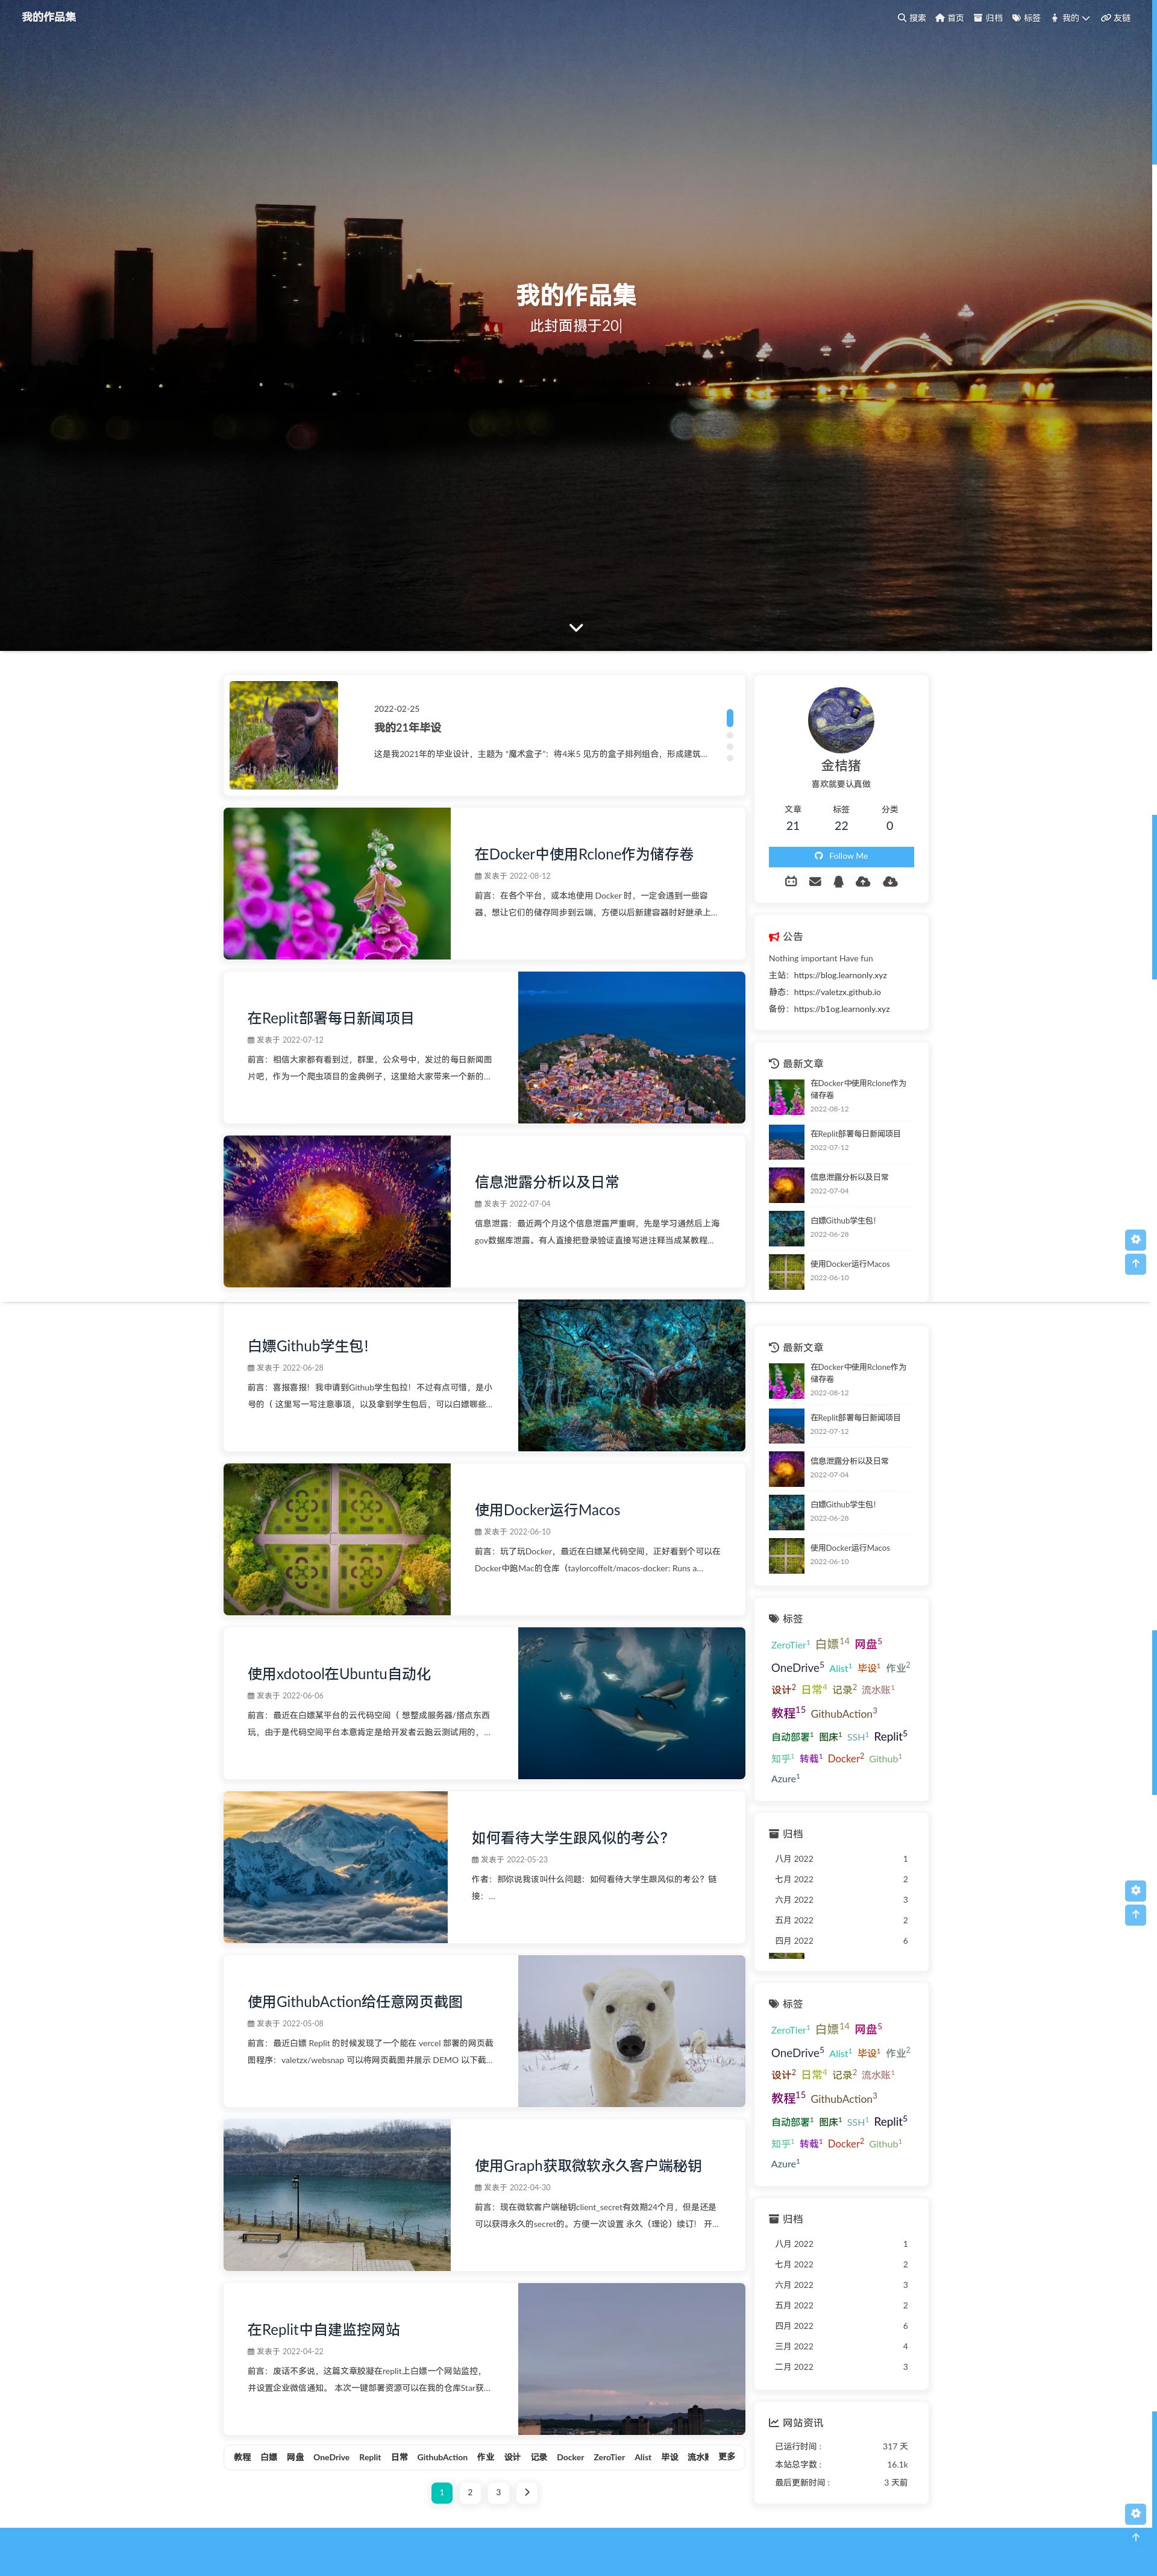
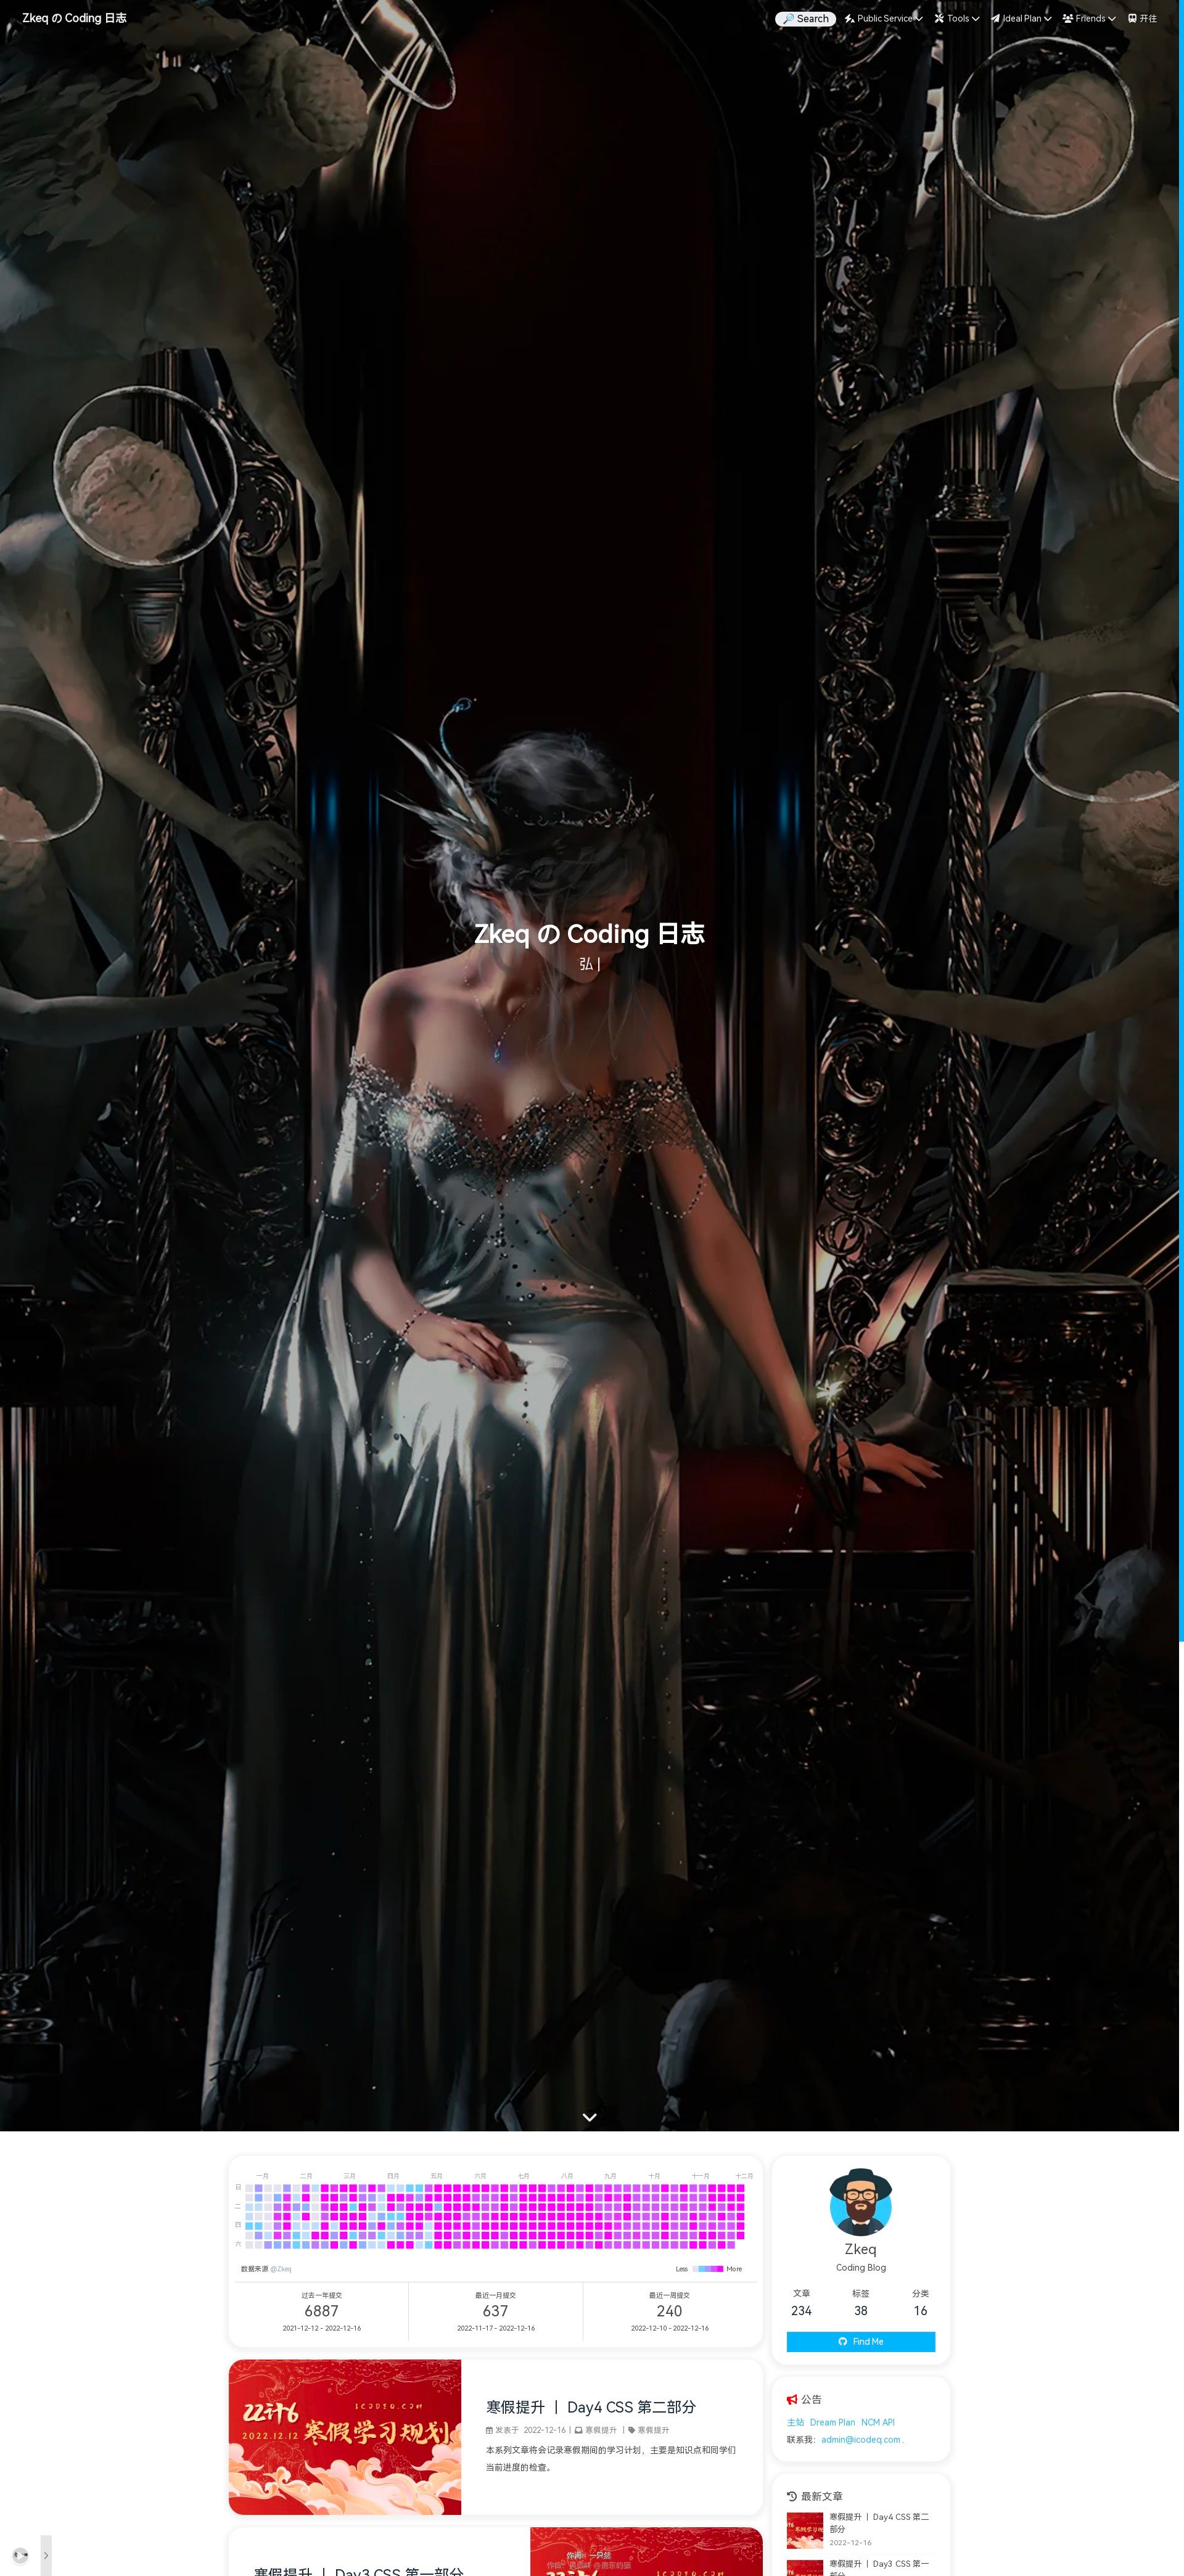
后来发现不是,这张方法有bug,以我的博客为例,会变成这样:

也就是说屏幕被拉长了..但是同时背景图片因为设置了某个样式,他也被拉长了

还好,之前写的代码并没有浪费,也就是这时候派上用场了

又去搜了一些文章,发现还有一种 设备模拟 的方式,遂又加上:

1
2
driver.execute_cdp_cmd('Emulation.setDeviceMetricsOverride', {'mobile': False, 'width': width, 'height': total_height, 'deviceScaleFactor': 1})
res = driver.execute_cdp_cmd('Page.captureScreenshot', { 'fromSurface': True})

于是再加上第一次的不进行操作就截图,一共是四种,于是便整理好作为一个参数供用户选择

附上完整代码:

1
2
3
4
5
6
7
8
9
10
11
12
13
14
15
16
17
18
19
20
21
22
23
24
25
26
27
28
29
30
31
32
33
34
35
36
37
38
39
40
41
42
43
44
45
46
47
48
49
50
51
52
53
54
55
56
57
58
59
60
61
62
63
64
65
66
67
68
69
70
71
72
73
74
75
76
77
78
79
80
81
82
83
84
85
86
87
88
89
90
91
92
93
94
95
96
97
98
99
100
101
102
103
104
105
106
107
108
109
110
111
112
113
114
115
116
117
118
119
120
121
122
123
124
125
126
127
128
129
130
131
132
133
134
135
136
137
138
139
140
141
142
143
144
145
146
147
148
149
import os
import json
import time
from urllib.parse import urlparse
import os
import time
from PIL import Image
import base64

from selenium import webdriver


def get_screenshot(url, width, height, timeout, real_time_out, host_dir, full_page):
print("正在初始化浏览器")
chrome_options = webdriver.ChromeOptions()
chrome_options.add_argument('lang=zh_CN.UTF-8')
chrome_options.add_argument('--headless')
chrome_options.add_argument('--no-sandbox')
chrome_options.add_argument('--disable-gpu')
chrome_options.add_argument('--disable-dev-shm-usage')
chromedriver = "/usr/bin/chromedriver"
os.environ["webdriver.chrome.driver"] = chromedriver
driver = webdriver.Chrome(options=chrome_options, executable_path=chromedriver)
print("正在尝试初始化窗口大小:", url)
driver.set_window_size(width, height)
print("正在获取网页")
driver.get(url)
print("正在等待网页加载完成")
driver.implicitly_wait(timeout)
time.sleep(real_time_out)
print("获取网页成功,正在截图")

# 获取页面总高度
total_height = driver.execute_script("return Math.max( document.body.scrollHeight, document.body.offsetHeight, document.documentElement.clientHeight, document.documentElement.scrollHeight, document.documentElement.offsetHeight)")


if full_page != 0:
now_time = time.strftime("%Y-%m-%d_%H-%M-%S", time.localtime())
pic_file = os.path.join(host_dir, now_time + ".png")
if full_page == 3:
print("|!!!!!|采用设备模拟截图模式")
# 直接开启设备模拟,不要再手动开devtools了,否则截图截的是devtools的界面!
driver.execute_cdp_cmd('Emulation.setDeviceMetricsOverride', {'mobile': False, 'width': width, 'height': total_height, 'deviceScaleFactor': 1})
# 执行截图
res = driver.execute_cdp_cmd('Page.captureScreenshot', { 'fromSurface': True})
# 返回的base64内容写入PNG文件
with open(pic_file, 'wb') as f:
img = base64.b64decode(res['data'])
f.write(img)
driver.quit()
return None

if full_page == 1:
print("|!!!!!|采用拉高视窗截图模式")
driver.set_window_size(width, total_height)
# 滚动到底部
driver.execute_script(f"window.scrollTo(0, {total_height});")
else:
print("|!!!!!|不进行任何操作,直接截图")
# 截图
driver.save_screenshot(pic_file)
driver.quit()
return None


print("|!!!!!|采用滚动截图模式")
scrolled_height = 0
next_scrolled_height = 0
print("页面总高度:", total_height)
now_time = time.strftime("%Y-%m-%d_%H-%M-%S", time.localtime())
image_path_list = []
page = 1
# 滚动页面
while next_scrolled_height < total_height:
driver.execute_script(f"window.scrollTo(0, {next_scrolled_height});")
next_scrolled_height += height
if total_height - scrolled_height < height:
next_scrolled_height = total_height
print("正在截图:", scrolled_height, next_scrolled_height)
time.sleep(2)
pic_file = os.path.join(host_dir, now_time + "|" + str(scrolled_height) + "_"+ str(next_scrolled_height) + ".png")
scrolled_height += height
image_path_list.append(pic_file)
driver.save_screenshot(pic_file)
page += 1

# # 打开图片
# img1 = Image.open("0_1080.png")
# img2 = Image.open("1080_2160.png")
# img3 = Image.open("2160_3240.png")
# img4 = Image.open("3240_4000.png")

# # 裁剪图片
# cropped_img1 = img1.crop((0, 0, img1.width, 1080))
# cropped_img2 = img2.crop((0, 0, img2.width, 1080))
# cropped_img3 = img3.crop((0, 0, img3.width, 1080))
# cropped_img4 = img4.crop((0, 0, img4.width, 760))

# # 创建新图像
# new_img = Image.new("RGB", (img1.width, 4000))

# # 粘贴图片
# new_img.paste(cropped_img1, (0, 0))
# new_img.paste(cropped_img2, (0, 1080))
# new_img.paste(cropped_img3, (0, 2160))
# new_img.paste(cropped_img4, (0, 3240))

# # 保存图片
# new_img.save("new_image.jpg")
_temp = []
for i in image_path_list:
_temp.append(Image.open(i))
# 裁剪图片
for i in range(len(_temp)):
if i == range(len(_temp))[-1]:
_temp[i] = _temp[i].crop((0, height - (int(image_path_list[-1].split("|")[-1].split(".")[0].split("_")[-1]) - int(image_path_list[-1].split("|")[-1].split(".")[0].split("_")[0])), _temp[i].width, height ))
else:
_temp[i] = _temp[i].crop((0, 0, _temp[i].width, height))
# 创建新图像
new_img = Image.new("RGB", (_temp[0].width, total_height))
# 粘贴图片
for i in range(len(_temp)):
new_img.paste(_temp[i], (0, i*height))

# 保存图片
new_img.save(os.path.join(host_dir, now_time + ".png"))
print("截图成功")
driver.quit()


# 读取list.json文件
with open("list.json", "r") as f:
data = json.load(f)

for i in data:
# 获取url
url = i["url"]
timeout = i["timeout"]
# 获取宽度和高度
width = i["width"]
height = i["height"]
real_time_out = i["real_time_out"]
full_page = i["full_page"]
# 写入文件
host = urlparse(url).netloc
host_dir = os.path.join("save", host)
if not os.path.exists(host_dir):
os.mkdir(host_dir)
get_screenshot(url, width, height, timeout, real_time_out, host_dir, full_page)

一些其他的本文未提及的相关资料

笔者只是看到这些,并未全部验证可行性,感谢所有为中文编程区做出教程的博主!